How to make pure organic aloe vera gel at home and preserve for months.
In particular, if you have a strong appreciation for natural skincare products, the process of making your own organic aloe vera gel at home is a satisfying endeavor. Because of its well-known calming, moisturizing, and healing characteristics, aloe vera is a versatile component that may be used in a variety of beauty treatments. This article will explain how to extract and store pure aloe vera gel at home so that it can be used over a period of several months.
Components and Operation Tools:
Aloe vera leaves that are fresh, preferably extracted from an organic source
- A knife with a sharp edge
- It is a spoon.
- It is a blender.
- A receptacle resistant to air
- It is recommended to use either vitamin E oil or vitamin C powder as a preservative.
Making Aloe Vera Gel: The Steps to Take
Obtain the Leaves to Harvest:
- When selecting aloe vera leaves, choose those that are thick and juicy from the bottom of the plant. These leaves are the most ripe and contain the most gel.
- To cut them close to the base, you should use a knife that is sharp. It is important to use caution because the plant may have spiny thorns along the margins of its leaves.
Secondly, get the leaves ready:
- In order to remove any dirt and debris from the leaves, give them a thorough washing under running water.
- In order to allow the yellow-colored aloe latex to drain out of the leaves, you should stand them upright in a cup or dish for ten to fifteen minutes. Due to the fact that this latex has the potential to irritate the skin, it is essential to allow it to drain away.
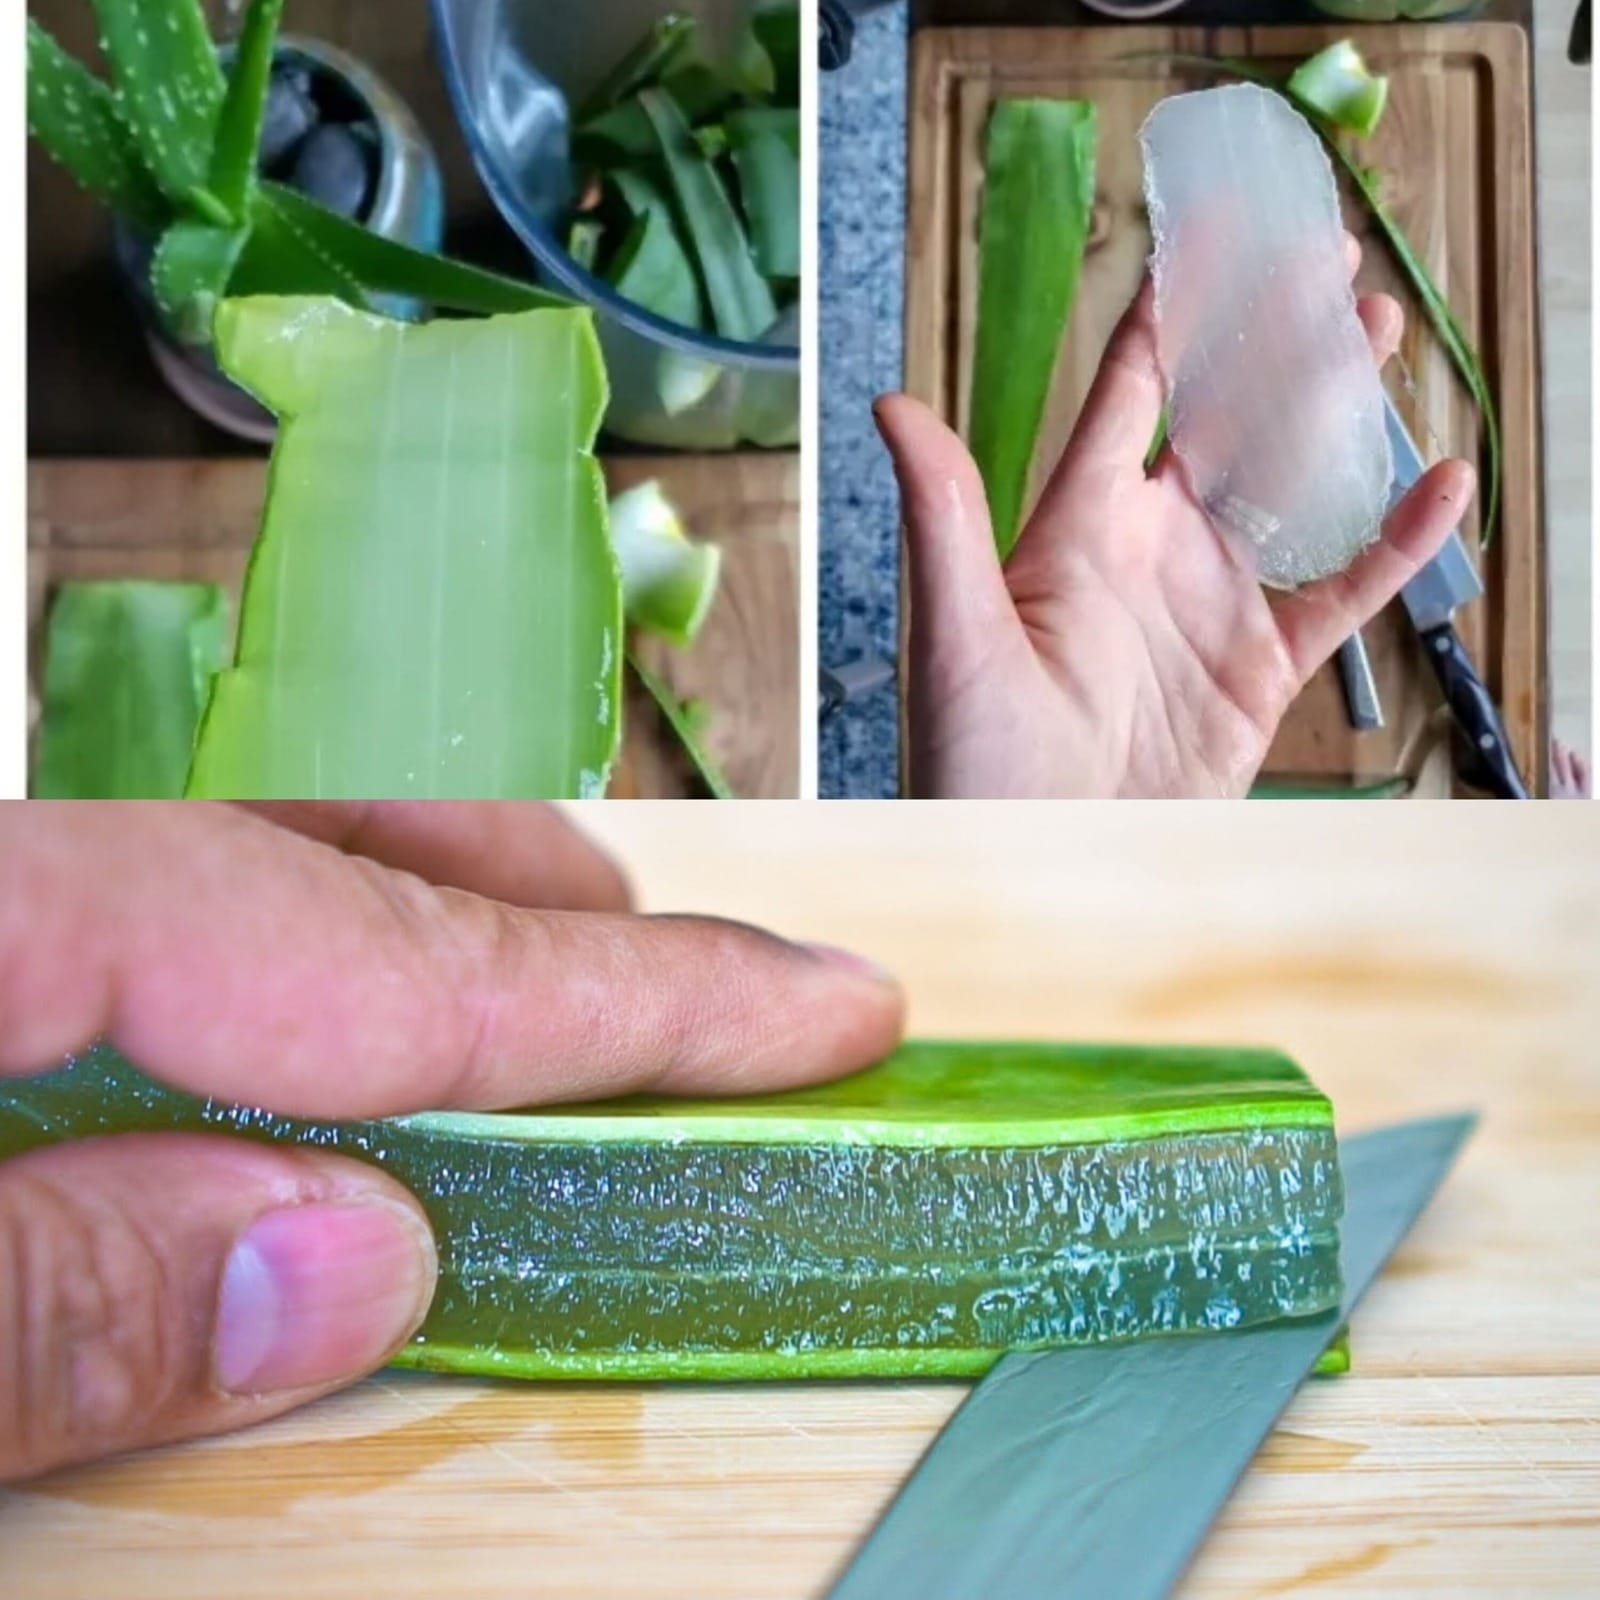
After that, remove the gel:
- Remove any serrated edges that are present on each leaf.
- In order to expose the transparent aloe gel, carefully cut away the skin that is located on the flat side of the leaf.
- A spoon should be used to carefully scrape away the gel. Irritation can be caused by any green parts, so you should try to avoid them.
4. Mix the Gel in Order:
- When the gel is ready, place it in a blender and give it a few quick pulses until it becomes frothy and liquefied. In order to preserve its natural consistency, you should avoid overblending it.
5. Do not throw away the gel:
- If you want to utilise the gel within a week, refrigeration is all that is required to keep it ready for use.
- Adding natural preservatives will allow for extended storage times. Both vitamin E oil and vitamin C powder are effective antioxidants that allow for a longer shelf life. Vitamin E oil is particularly useful. For every cup of gel, incorporate a few drops of vitamin E oil or a pinch of vitamin C powder into the mixture.
Sixth, put the Gel away:
- Proceed to place the gel in a container that is both clean and airtight.
- To ensure that it remains as fresh as possible, keep it in the refrigerator. Once it has been properly stored, the gel can be used for a number of months.
Some Useful Hints:
- To treat burns, hydrate dry skin, or as part of your everyday skincare routine, apply the gel straight to the skin. These are all examples of skin care applications.
- In terms of hair care, you can apply it as a hair mask or as a styling gel to add shine and hydration to your hair.
Concluding remarks:
The aloe vera gel that you make at home is not only more cost-effective, but it also does not contain any of the additives that are present in many commercial goods. You will be able to reap the full advantages of aloe vera and guarantee that you always have a fresh supply of this excellent natural healer on hand if you follow these procedures.